This year, we’re embracing a slower pace of living, one that encourages ritual over routine and acknowledges the small but important moments that foster well-being and productivity. A mindful morning can help inspire action and cultivate creativity. Consider crafting your own morning ritual with a slow coffee practice in mind. We’ve partnered with Sydney-based specialty coffee roastery & lifestyle store Skittle Lane who share with us their expert tips for brewing great Espresso, Aeropress, Pour Over, Iced Lattes and French Press from home.

Skittle Lane Coffee are a Sydney-based specialty coffee roastery & lifestyle store, serving up excellent coffee in beautiful spaces. They opened in 2015, with the aim to blend their love of quality coffee, iconic design and great hospitality.
Named after the alleyway that runs beside their first flagship venue in Sydney’s CBD, they now have an in-house roastery in Bondi Beach, with a third espresso bar in Circular Quay set to open soon.
The Skittle Lane team are highly passionate about sourcing and sharing the best, most ethically-produced coffee from around the world, ensuring care in every step of the journey— all the way from selecting green coffee, right through to brewing and serving each brew in recyclable and biodegradable packaging.
Whether you're a beginner brewer or an experienced barista, our at-home brew guide has been designed to empower you to get the most out of your Skittle Lane coffee.


Equipment required
Coffee
Espresso machine
Grinder
Scales
Tamper
Tea towel
Method
- Ensure your espresso machine is turned on with its portafilter locked into its group head. Allow sufficient time for the machine and portafilter to heat up.
- Remove the hot portafilter from the group head. Using a tea towel, ensure the basket is dry and clean of any coffee grounds.
- Dose and grind your coffee through your grinder, collecting it into your clean, dry and hot portafilter basket.
- Distribute the ground coffee in your basket evenly by sweeping your index finger in a circular motion across the surface of the coffee grounds.
- Using your tamper, apply a firm, even and downward pressure across the bed of ground coffee in the portafilter, so that the coffee is evenly compressed.
- Gently position the loaded portafilter into the group head, and tighten into place.
- Initiate the extraction button or lever on your machine to begin pulling your espresso.
- Stop the extraction to achieve a beverage weight that is twice your initial dry coffee dose; a 1:2 ratio. This should generally take somewhere between 25 - 35 seconds.
- Remove the portafilter, set your espresso aside, and knock out the used coffee puck. Run a quick burst of water through the group head, rinsing it. Clean and dry the portafilter with your tea towel, and replace it back into the group head.
- Repeat steps 3 -10 to make more espresso as required.
The desired outcome is an espresso that is balanced. An ideal espresso should be free from undesirable bitterness, astringency and dryness. A beautiful espresso will have characteristics of sweetness, balanced acidity, and a creamy, silky mouthfeel.
Tips
- Get to know the size of your portafilter basket. This will help you understand how much coffee to dose for your recipe.
- You want an even, gentle, and viscous honey-like start to the extraction. If the coffee extraction starts by dripping slowly, your grind needs to be coarsened. If it runs quickly and looks watery, your grind needs to be made finer.
- Your espresso extraction should start no sooner than 6 seconds and no longer than 10 seconds.
- Be careful not to knock or bump the portafilter after you have tamped. This will disrupt the integrity of the puck and result in channelling - an undesirable event in the extraction process.


Equipment required
Glass or cup
Ice
Espresso shot or concentrate
Cold milk
Method
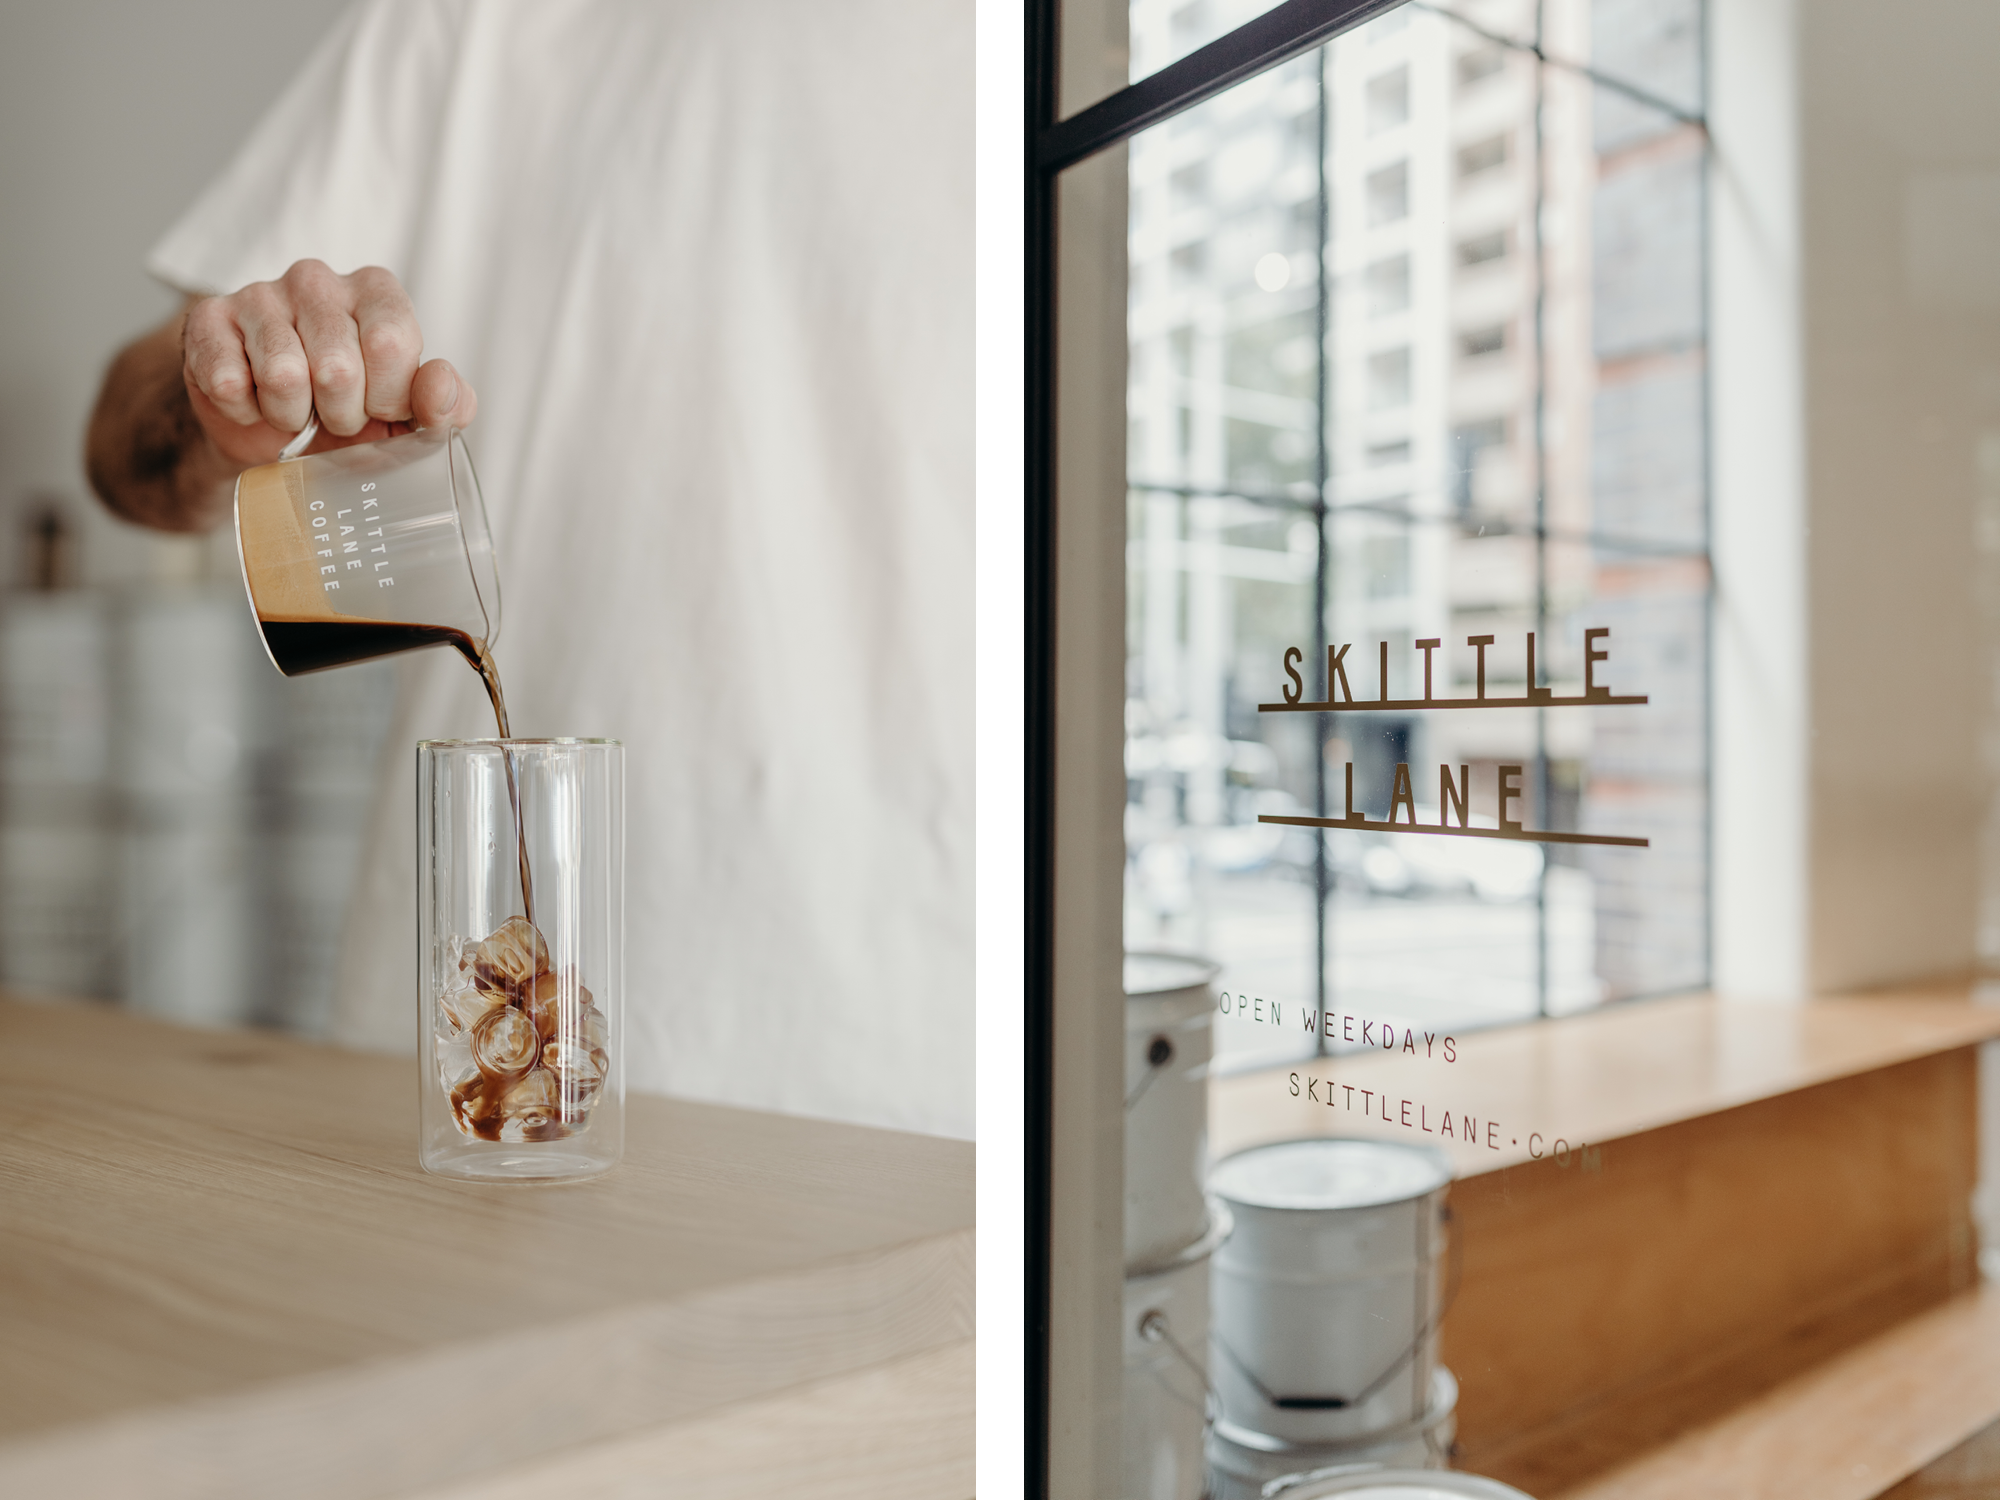
Iced lattes or iced coffees are made with espresso and milk. If you don’t have a home espresso machine, you can substitute your espresso with a coffee concentrate.
To make your iced latte, place ice cubes into your glass, pour your espresso over them, and then add your cold milk.
The desired outcome is an iced latte that is rounded, medium-to-full-bodied and free from bitterness, astringency and dryness.
Tips
- Add an extra shot of espresso if you want more intensity.
- Oat milk works particularly well as an alternative to regular milk.

Equipment required
Aeropress
Coffee scale or kitchen scale
Timer
Kettle
Server or a mug that is at least 300mL
Spoon
Method
- Put the kettle on and boil the water.
- Place the paper filter in the cap and rinse with hot water over a small glass. This is to remove the paper taste when you brew your coffee.
- Put the plunger in the main chamber and place it over the scale with the open end of the chamber facing up. Add some hot water to in the main chamber to heat up the Aeropress. Pre-heating your Aeropress before you brew will give you a better and consistent extraction of coffee.
- Turn on the kettle again and grind 15 grams of coffee. The grind size should be between a pour-over/drip coffee grind and a stovetop coffee grind.
- Once the kettle is finished, let it sit between 45 seconds to a minute to cool down. Remove the water in the Aeropress, place it back on the scale, add your coffee grind in the main chamber and tare the scale. If you have a temperature-controlled kettle, we recommend using the water temperature between 92 and 96 degrees Celsius.
- Start the timer and pour in 225grams of water and stir gently a couple of times. Let it sit for 2 minutes. Stirring your coffee ensures all coffee grounds are evenly wet.
- Once the timer reaches 2 minutes, place your server or mug upside down over the cap and invert your Aeropress onto a flat surface. Press down for 30 seconds. Use the hand weight to press down gently. You should not be using a lot of effort. Keep pressing until you hear the beginning of a hissing sound. When you hear a small air hissing sound, stop pressing.
- Remove the Aeropress and enjoy your coffee.
You want a balanced brew that is sweet and flavourful. It should have a rounded mouthful and show off the best characteristics of the coffee, without exposing undesirable traits such as astringency, bitterness and dryness.
Tips
- If your coffee is tasting bitter or astringent, grind your coffee coarser.
- If your coffee is tasting sour or watery, grind your coffee finer.
This is one of the many ways to make an Aeropress; you may play around with variables such as brew time, water temperature, coffee to water ratio (coffee to water recipe) and techniques to find the right cup for you!


Equipment required
Coffee
Grinder
Plunger (French Press)
Kettle
Timer
Spoon
Method
At Skittle Lane we use a 1:16 ratio for plunger coffee. For example, if you use 40g of coffee you’ll pour in 640g of water. Using this ratio, increase or decrease your initial coffee and water depending on how much brewed coffee you would like.
- Turn on your kettle.
- While the kettle is boiling, grind the appropriate amount of coffee, and add to your plunger.
- Once the water has boiled, pour in the appropriate amount onto the ground coffee in the plunger.
- Gently stir the brew with a spoon. Make sure all coffee grounds are saturated.
- Let the coffee brew for 4 minutes, then gently plunge.
- Serve immediately.
The desired outcome of French Press coffee is a brew that is rounded, medium-to-full-bodied and free from bitterness, astringency and dryness.
Tips
- Up the dose of coffee to water ratio if you would like more cups. (Depending on plunger size).
- You can use espresso or filter roasted coffee for plunger recipes, depending on what flavour profile you’re looking for.
- Use a coarse grind.
- If you like more or less intensity, increase or decrease the amount of coffee.
- Allow the boiling water to briefly cool down before you pour it over your coffee.


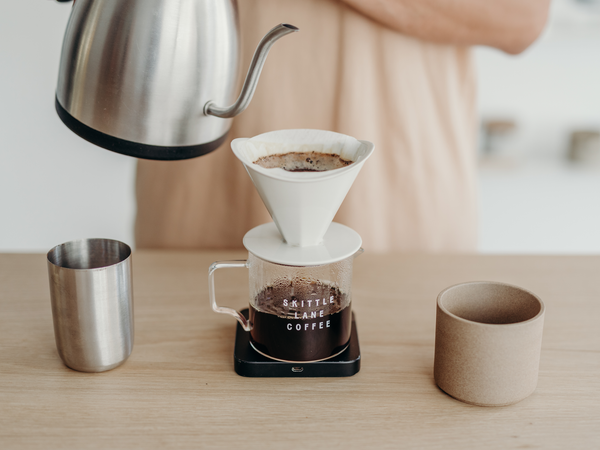
This is a general guide to how we make pour-overs with Skittle Lane dosage and equipment. It is important to note that if you change the dose or equipment, your results will vary and you will need to adjust the recipe accordingly. Our coffee-to-water ratio is 1:16-16.5.
Equipment required
Coffee
Grinder
Scale
Timer
Kettle (preferably a Gooseneck Kettle)
Pour Over Cone
Pour Over Filter Paper
Jug or Mug
Spoon/Straw or tool to make a well in the ground coffee
Method
- Place the pour-over cone on top of your jug or mug.
- Place the filter paper in the pour-over cone and rinse thoroughly with hot water, making sure the paper is even and completely wet. The paper needs to be preheated before you start brewing.
- Empty hot water from the mug and tare on the scale.
- Grind and dose 20g of coffee into the wet filter paper in the pour-over cone. Using a spoon, straw, or similar tool, dig a small well into the middle of the coffee grounds. Try to be as centred and even as possible with the position of the well.
- Heat your water to 96°C.
- Evenly pour 60g of hot water, or a 1:3 ratio, from the kettle onto the bed of coffee grounds, gently rotating or swirling for 3 seconds.
- Let the coffee grounds bloom for 45 seconds.
- After 45 seconds pour more water onto the coffee in a circular motion, until it reaches a 130g total. Once the water level has drained to 1cm above the coffee bed, pour up to 230g. Again, once the water is 1 cm above the coffee bed pour up to 330g.
- To finish, gently swirl the coffee.
The total brew time should be between 3 - 3 ½ minutes. Adjust your grind size accordingly to achieve this time range. If you’re not using a commercial grinder it’s likely you’ll need to aim for a faster brew time.

Ideally, you want a balanced brew that is sweet and flavourful. It should have a rounded mouthful and show off the coffee’s best characteristics, without exposing undesirable traits such as astringency, bitterness and dryness.
Tips
- When pouring water from your kettle, pour from a height so your stream is vertical but doesn't splash. This will help give you a consistent flow rate.
- If your grinder is of lower quality you may have to settle with a faster brew time to avoid dryness and astringency.
- If your coffee is tasting bitter or astringent, grind your coffee coarser. If it’s tasting sour or watery, grind your coffee finer.

This guide is an introduction to home brewing. If you are more experienced or wish to further your knowledge, you can find detailed brew guides, recipes, tips and tricks on Skittle Lane Coffee’s website skittlelane.com, or visit them in-store where their baristas are always happy to help.
Follow Skittle Lane
@skittlelanecoffee